In this blog we will discuss steps to install your own Ethereum blockchain in your local Ubuntu computer, for testing purposes. We can also use this local instance to deploy our smart contracts.
For deploying and running the Ethereum blockchain, we will use Go Ethereum also know as Geth. Geth is a command line interface for running Ethereum node. It is implemented in Go Language. Using Geth you can join Ethereum network, transfer ether between accounts, create ethereum network or even mine ethers. So without doing further ado lets get started!
1. Installing Geth
You can download and install Go Ethereum (Geth) directly from official website
You can install Geth from Ubuntu terminal using following commands
To enable launchpad repository run:
sudo add-apt-repository -y ppa:ethereum/ethereum
Then install stable version of go-ethereum:
sudo apt-get update
sudo apt-get install ethereum
The commands abigen,bootnode,clef,evm,geth,puppeth,rlpdump and wnode will be available on your system in /usr/bin/.
Find the different options and commands available:
geth --help
2. Configuring the Genesis Block
Let us create a json file which will describe how the genesis block or the first block of block will be created.Genesis block does not contain any transactions.
Create a file named genesis-config.json and save it in the root folder of the nodes directories.
{
  "config": {
    "chainId": 2018,
    "homesteadBlock": 0,
    "eip155Block": 0,
    "eip158Block": 0,
    "eip150Block": 0
  },
  "alloc": {},
  "coinbase": "0x0000000000000000000000000000000000000000",
  "difficulty": "10",
  "extraData": "",
  "gasLimit": "0x2fefd8",
  "nonce": "0x0000000000000042",
  "mixhash": "0x0000000000000000000000000000000000000000000000000000000000000000",
  "parentHash": "0x0000000000000000000000000000000000000000000000000000000000000000",
  "timestamp": "0x00"
}
you can create genesis block by storing this above given json data in a file named “genesis-config.json” and executing the following command:
geth --datadir ./data init genesis-config.json
The chainId is the network id of the Ethereum network. You can choose any value high than 4 ,because 1-4 are defaults for main and test networks.
3. Creating local nodes
Let us creat somes nodes locally in our computer. Create 3 new folders. Each of them will represent a node in our blockchain. This can be done using following command:
mkdir node01 node02 node03
4. Generating Ethereum accounts
You can create any number of account using the following command:
geth --datadir "/PATH_TO_ANY_NODE/" account new
You will be prompted for a secret password. Write down the address of the created accounts and memorize the password. This credential will be useful later when you want to unlock your account for transactions or deploying your smart contracts.
5. Initializing and strating nodes
Initialize each node using the genesis-config file previously created:
geth --datadir "/PATH_TO_A_NODE/" init /PATH_TO/genesis-config.json
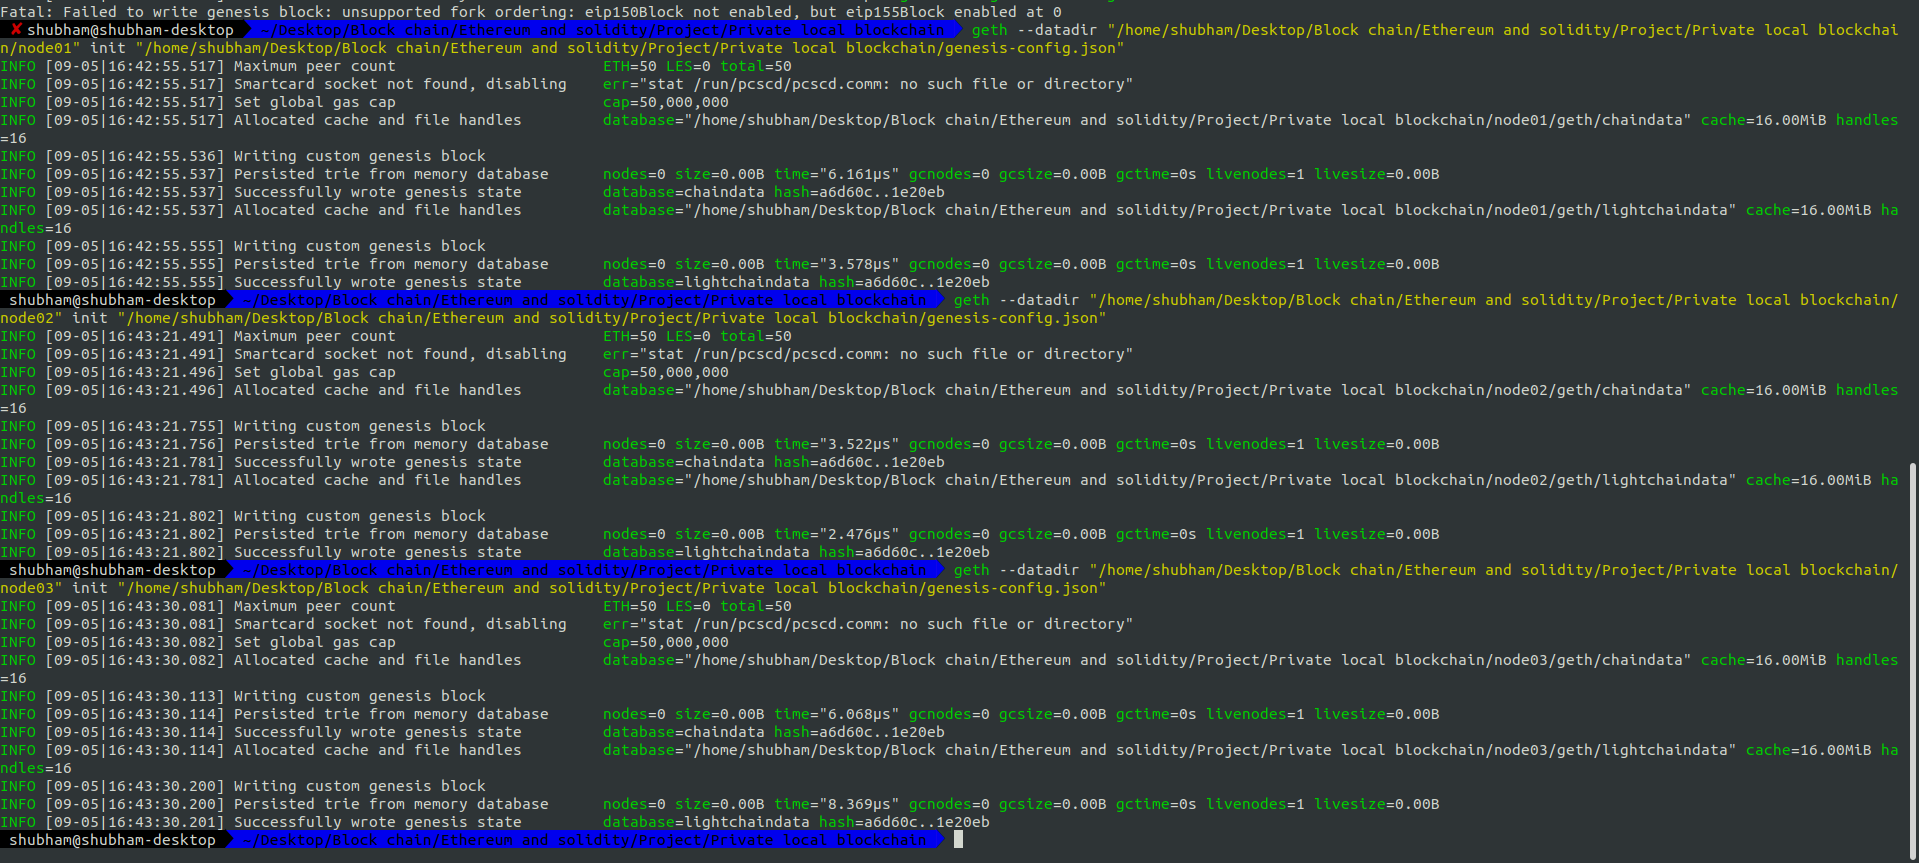
Run this command for each node.
Then run each node using the following command:
geth --identity "name_of_your_node" --rpc --rpcport "8000" --rpccorsdomain "*" --datadir "/PATH_TO_A_NODE/" --port "30303" --nodiscover --rpcapi "db,eth,net,web3,personal,miner,admin" --networkid 1900 --nat "any"
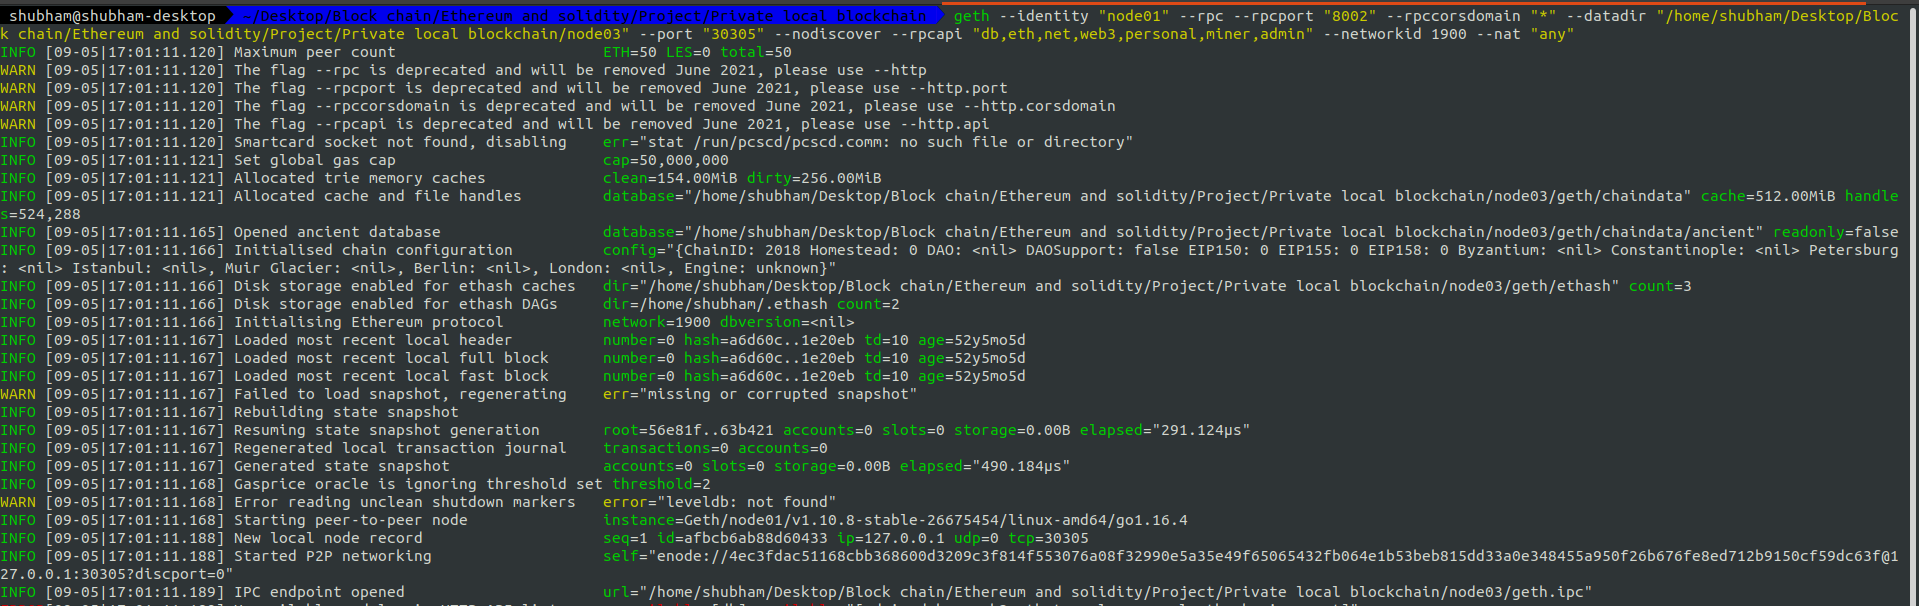
note that each node should have a different port and rpcport
6. Interfacing with each node using terminal
Now let us interact with deployed node using terminal. In order to do that write the following command:
geth attach http://127.0.01:8000
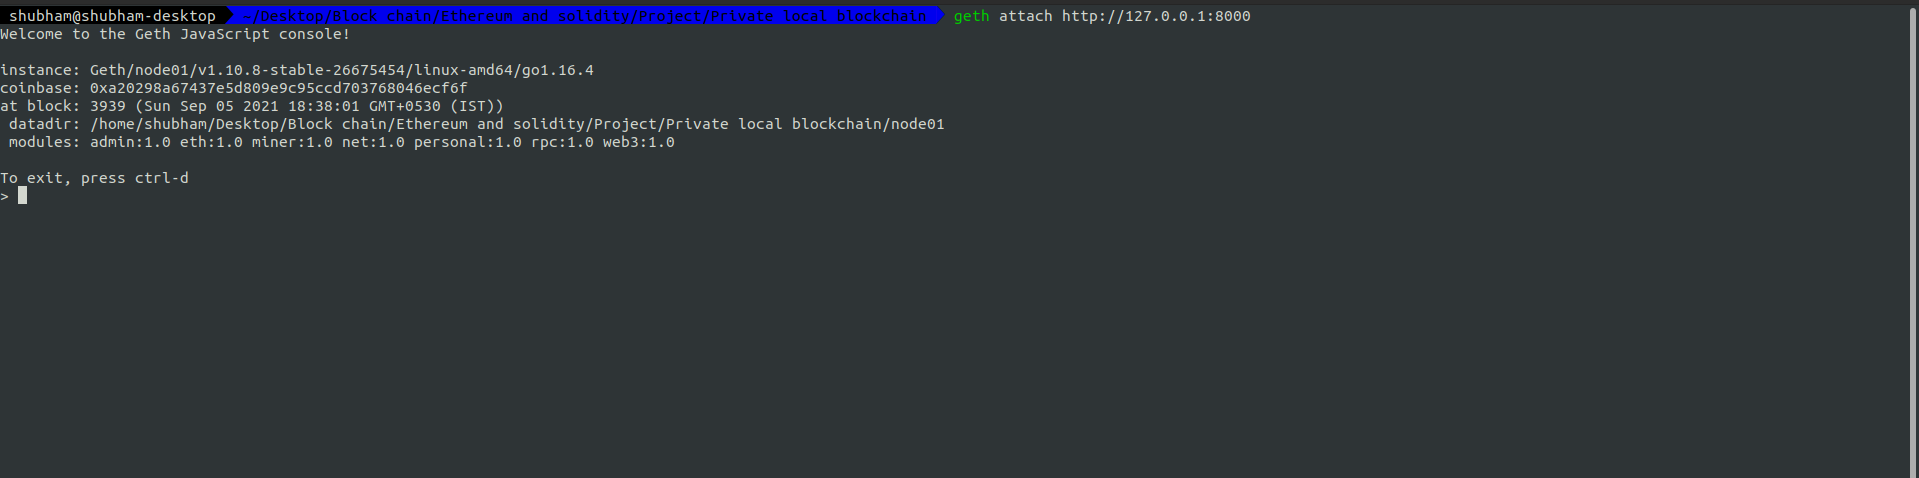
Note that each port will map to a unique node.
7. Interconnecting the nodes
As we initalized and run the nodes, the nodes will not know about each others existence, we need to connect them. We can do that by first getting their enode address by using following command:
> admin.nodeInfo
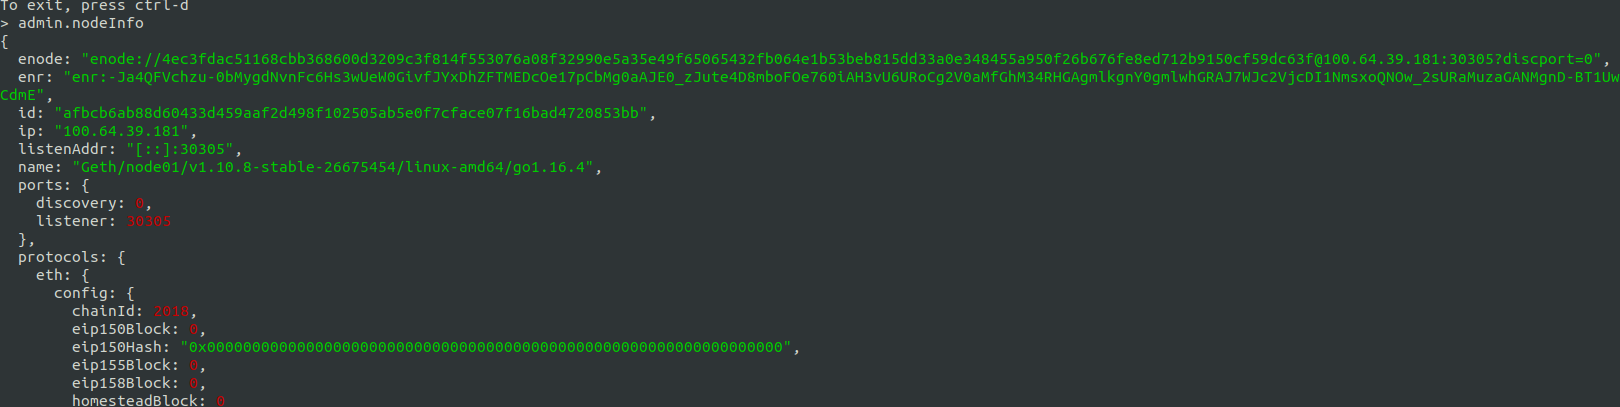
Copy the enode address completely. Now you can connect the other nodes to this one by running the following command in their respective terminals:
> admin.addPeer("ENODE_ADDRESS")
8. Strating a miner
Now let us set an account to recieve the mining awards. This is called the ehterbase account. We will use the admin node i.e node01 as a miner. Go to the console interfaced with node01 and run the following command:
> miner.setEtherbase(eth.accounts[0])
after getting true run this:
> miner.start()
You should see null message in the terminal, and then in the other terminal where you intialized and started your node should see progress of mining that just got started.

Great! now our Private Local Ethereum Blockchain is ready. Feel free to add new nodes, create new accounts, send transactions ,deploying your smartcontracts and try to learn how this seamless thing works.
Thanks for reading!